The useful bit
Collect the information needed for the next conversation, then make ownership and response timing explicit.
An electrical estimate request form can save time when it collects the details your office needs for the next conversation. It can also create friction when it asks a homeowner to answer technical questions before anyone has reviewed the project.
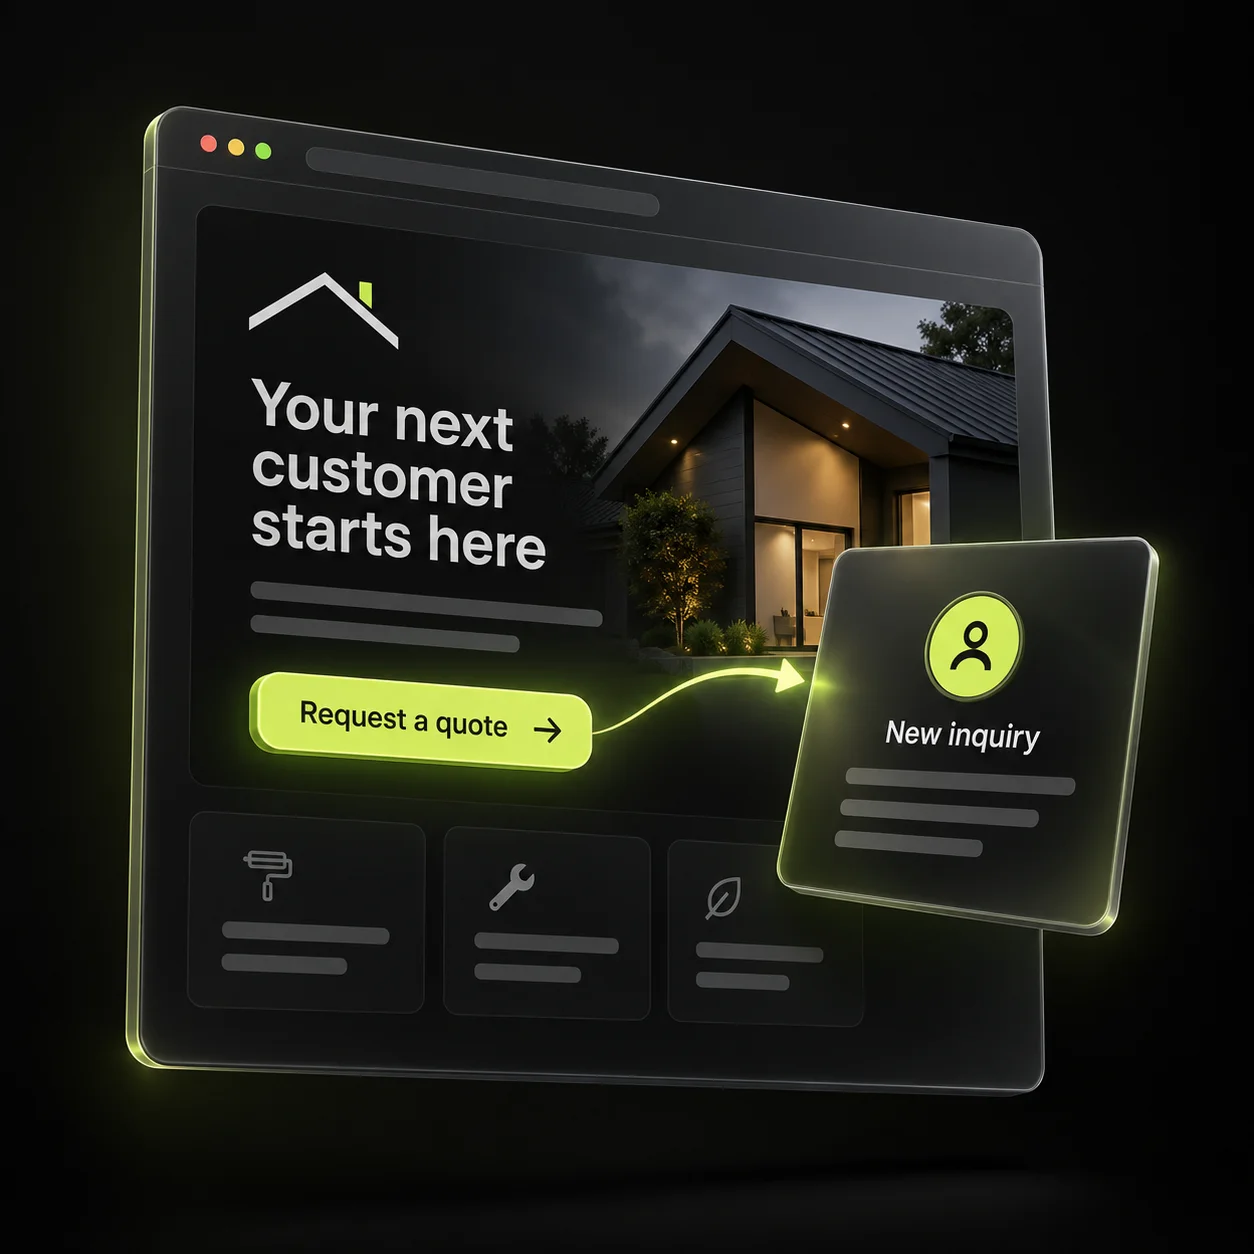
Build the first form around routing and contact. More detailed assessment can follow once the right person understands the request. This guide shows what to collect, what to leave out, and how to test the handoff.
1. Start with the decisions your office makes
List the information needed to decide who should respond: service area, project category, residential or commercial property, and the customer’s preferred contact method. Keep the categories short and include an option for a project that does not fit neatly into them.
Do not ask for a budget, equipment specification, or detailed drawing just because the software offers a field. Include a field only when someone can explain how it changes the next step. Long forms can hide which details are actually important to the team.
2. Use a small, clear field set
For an initial inquiry, request a name, contact information, service location, project type, and a short description. Make supporting photos optional and describe what is appropriate to share. Customers should not need to access electrical equipment to provide them.
Use everyday labels such as “What would you like help with?” rather than internal technical categories. Mark required fields clearly and explain an error beside the field that needs attention. Keep typed information in place if the submission fails.
- Name and preferred reply method.
- Service city or ZIP code.
- Residential or commercial property.
- Project type, including “not sure.”
- A brief description and optional existing photos.
3. Explain what submitting the form means
Tell the visitor when a person will review the inquiry and whether the next step is a call, an assessment, or a scheduling discussion. Match the button label to that action. “Request an estimate” should not trigger a success message saying an appointment is confirmed.
If you only review requests during office hours, show those hours. Avoid promising an immediate response when the form is monitored periodically. A clear expectation is easier for the team to meet and easier for the customer to understand.
4. Route the request with enough context
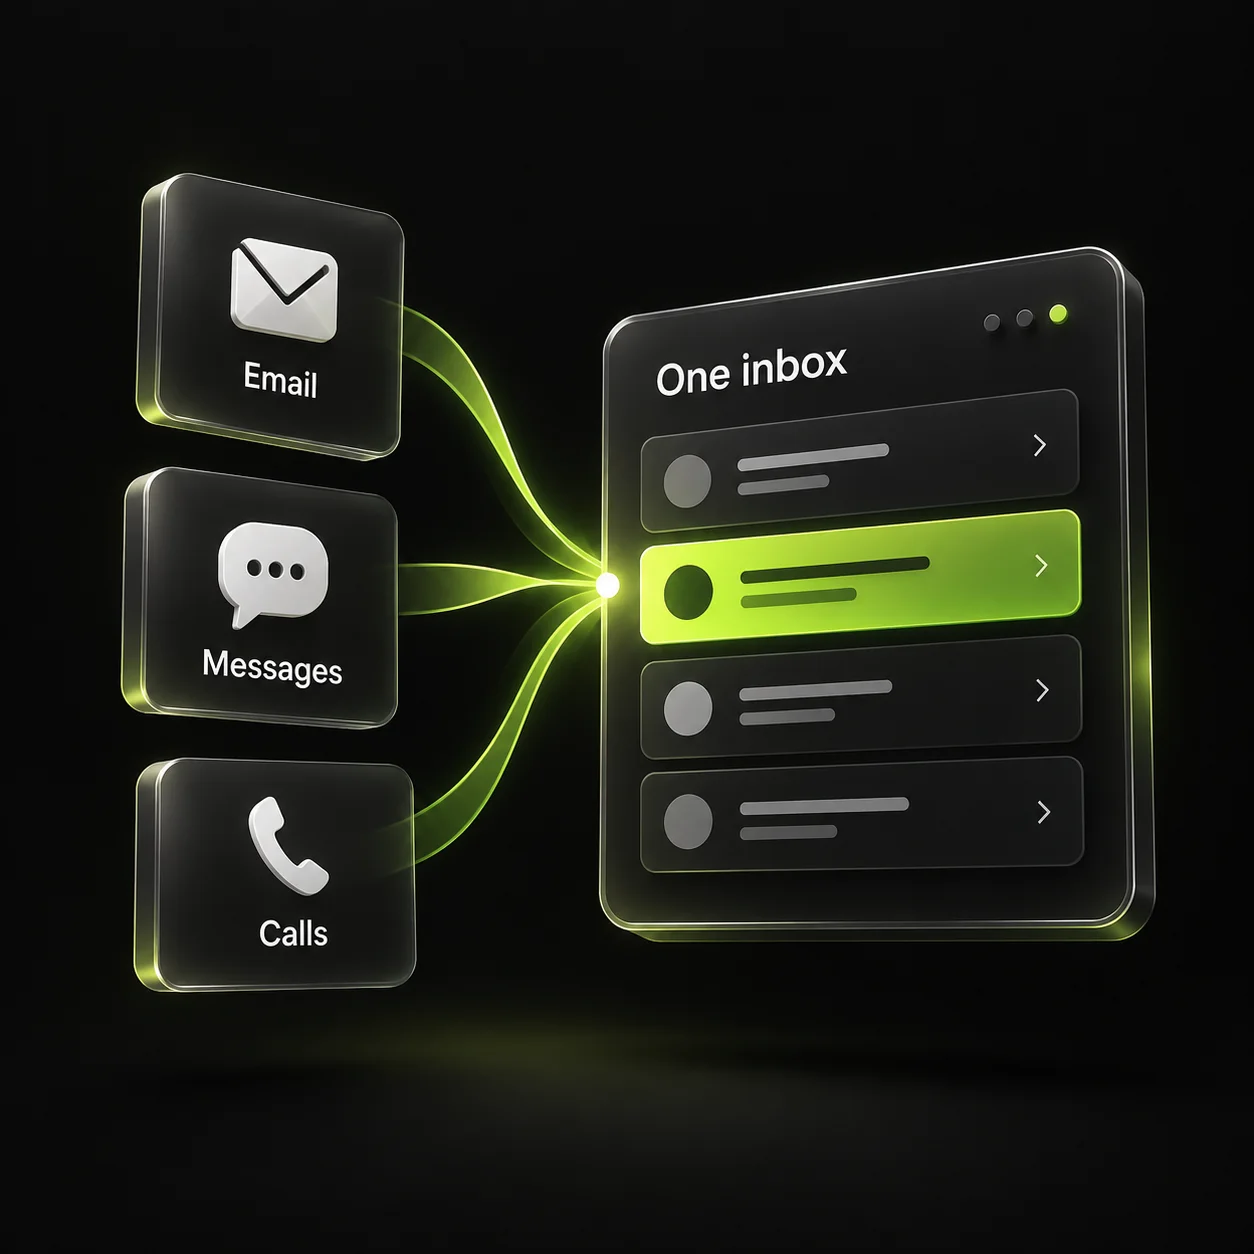
The office notification should show the project type, location, preferred contact method, and customer description together. Assign an owner and create a next action. Avoid sending the same request to several people without indicating who should reply.
Test a residential inquiry and a commercial inquiry with internal data. Check that they reach the right person and that replies remain visible to the team. Keep private contact details out of public logs or analytics event labels.
5. Measure the full handoff
Google Analytics supports measuring a specific lead form submission as a key event. Verify that your event represents a successful submission, then compare it with the requests actually received. A button click or a validation error should not be counted as a completed inquiry.
Keep contacted prospects, assessments scheduled, estimates sent, and accepted work as separate stages. Review a few records each week for missing fields or delayed replies. If the same clarification is repeatedly needed, improve the form or its instructions rather than adding a long list of mandatory questions.
Sources & further reading
The workflows and templates are DYZIGN LABS suggestions. These primary sources support the platform and maintenance guidance referenced above.